postfix-mta-sts-resolverとTLS-RPTを設定する
- 2023/06/09
- aikawa
前回MTA-STSを設定しましたが、postfixの実装であるpostfix-mta-sts-resolverと、TLS-RPTの設定を追加してみます。
ただ、残念ながら現状はpostfix-mta-sts-resolverにはエラーレポートの機能が無いようです。
ただ、残念ながら現状はpostfix-mta-sts-resolverにはエラーレポートの機能が無いようです。
送受信し合うのに、2ドメイン分有った方が良いです。
またexample.comで記載していますが、設定する各ドメインに置き換えます。
またexample.comで記載していますが、設定する各ドメインに置き換えます。
DNS
TLS-RPT用に、_smtp._tls.[domain] のTXTレコードを設定します。example.comの場合、_smtp._tls.example.comになります。
相手先がTLS-RPTの送信をしていれば、以下でaikawa@example.com宛にレポートが届きます。
v=TLSRPTv1; rua=mailto:aikawa@example.compostfix-mta-sts-resolver
一応、CentOS7のPostfix(2.10)でも可能ですが、その場合SNIが使えませんのでPostfix 3.4系以降が入るCentOS Stream 9等が良いと思います。dnf install python3 python3-pip python3-devel gcc
python3 -m pip install multidict typing_extensions attrs yarl async_timeout idna_ssl charset_normalizer aiosignal
python3 -m pip install postfix-mta-sts-resolver[redis,sqlite]/etc/mta-sts-daemon.yml
host: 127.0.0.1
port: 8461
reuse_port: true
shutdown_timeout: 20
proactive_policy_fetching:
  enabled: true
  interval: 86400
  concurrency_limit: 100
  grace_ratio: 2
cache:
  type: internal
  options:
    cache_size: 10000
default_zone:
  strict_testing: true
  timeout: 4
  require_sni: true
zones:
  myzone:
    strict_testing: true
timeout: 4/etc/systemd/system/postfix-mta-sts.service
[Unit]
Description=Postfix MTA STS daemon instance
After=syslog.target network.target

[Service]
Type=notify
User=mta-sts
Group=mta-sts
# This is the ExecStart path for RHEL7 using python 36 from the Software collections.
# You may use a different python interpreter on other distributions
ExecStart=/usr/local/bin/mta-sts-daemon
Restart=always
KillMode=process
TimeoutStartSec=10
TimeoutStopSec=30

[Install]
WantedBy=multi-user.targetuseradd -c "Daemon for MTA-STS policy checks" mta-sts -s /sbin/nologin
systemctl daemon-reload
systemctl enable postfix-mta-sts --nowPostfix
/etc/postfix/main.cf
## MTA-STS ##
smtp_tls_policy_maps = socketmap:inet:127.0.0.1:8461:postfix

# Client TLS(CentOS 7用 / CentOS Stream 9では設定済)
smtp_tls_security_level = may
smtp_tls_CAfile = /etc/pki/tls/certs/ca-bundle.crt
smtp_tls_loglevel = 1

# 付けないとUntrusted TLS / Anonymous TLS connection になる
smtpd_tls_ask_ccert = yessystemctl reload postfix確認
まずは、設定したドメイン同士でメールを送ってみて、/var/log/maillogに、Trusted TLSが表示されている事を確認します。
postfix/smtp[pid]: Trusted TLS connection established to example.com[ipaddr]:25: TLSv1.2 with...
smtpd_tls_ask_ccertをyesにしていない場合や、Let’s Encryptの証明書設定、smtpクライアント側のCA(中間証明書)の設定が出来ていないと、UntrustedまたはAnonymous になったりします(CentOS7はUntrustedで、CentOS Stream 9はAnonymousになるようです)。
次にPostfixの設定が動いているかを確認します。
/usr/sbin/postmap -q example.com socketmap:inet:127.0.0.1:8461:postfix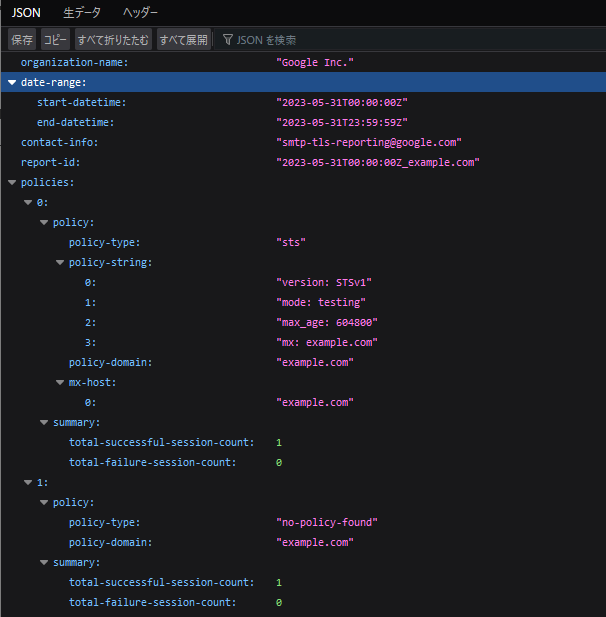
# secure match=example.com 等と出力7-Zip等で展開して、Firefoxなんかにドロップすると見やすいです(ドメイン名はいじってあります)。