EclipseプラグインJavaEditorへの機能追加編
- 2011/12/14
- uchida
- Eclipseプラグイン開発
EclipseプラグインのJavaEditorへの機能追加について書いていきます。
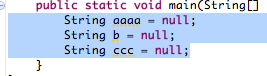
今回は次のようになっているソースを
「
String aaaa = null;
String b = null;
String ccc = null;
」
イコールの位置で整形する機能を追加してみます。
1.プロジェクト作成する。
1)Eclipseプラグインの作り方基本編を見てこの手順でプロジェクトを作成してください。
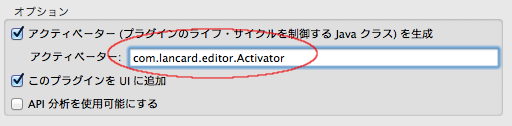
今回からActivatorにはちゃんとしたパッケージを指定します。
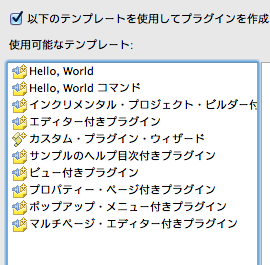
今回はテンプレートは選択しません。
2.plugin.xmlの編集
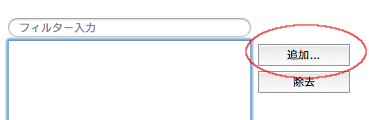
1)拡張タブを選択します。

2)追加ボタンを押します。
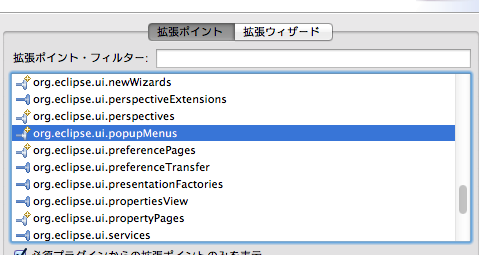
3)ポップアップメニューとして出す予定なので「org.eclipse.ui.popupMenus」を選択します。
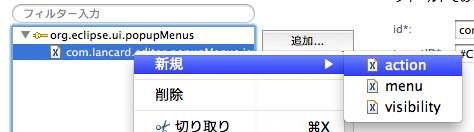
4)「org.eclipse.ui.popupMenus」の上で右クリックし以下のように選択します。

5)以下のように値を入力します。
JavaEditorのIDは「#CompilationUnitEditorContext」になります。

6)追加したメニューの上で右クリックしactionを登録します。
これはこのメニューを選択したときどのclassが実行されるかなどを登録します。
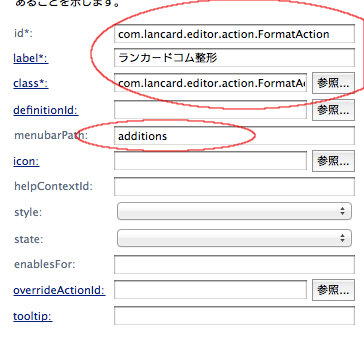
7)追加したアクションには以下のように記述します。
idとclassには「com.lancard.editor.action.FormatAction」
menubarpathには「additions」と書きます。
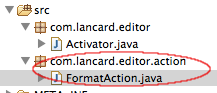
2.クラスの作成
1)「com.lancard.editor.action.FormatAction」を作成します。
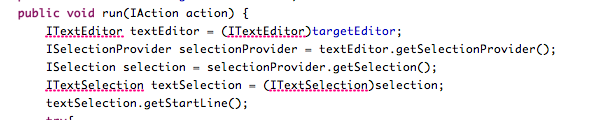
2)コードは以下のように書きます。
package com.lancard.editor.action;
import org.eclipse.jface.action.IAction;
import org.eclipse.jface.text.BadLocationException;
import org.eclipse.jface.text.IDocument;
import org.eclipse.jface.text.ITextSelection;
import org.eclipse.jface.viewers.ISelection;
import org.eclipse.jface.viewers.ISelectionProvider;
import org.eclipse.ui.IEditorActionDelegate;
import org.eclipse.ui.IEditorPart;
import org.eclipse.ui.texteditor.IDocumentProvider;
import org.eclipse.ui.texteditor.ITextEditor;
public class FormatAction implements IEditorActionDelegate {
private IEditorPart targetEditor = null;
public void run(IAction action) {
ITextEditor textEditor = (ITextEditor)targetEditor;
ISelectionProvider selectionProvider = textEditor.getSelectionProvider();
ISelection selection = selectionProvider.getSelection();
ITextSelection textSelection = (ITextSelection)selection;
textSelection.getStartLine();
try{
execute(textSelection.getStartLine(),textSelection.getEndLine());
}catch(BadLocationException e){
//ログとか出したほうがいい。
}
}
private void execute(int startLine,int endLine) throws BadLocationException {
ITextEditor textEditor = (ITextEditor)targetEditor;
IDocumentProvider provider = textEditor.getDocumentProvider();
IDocument document = provider.getDocument(textEditor.getEditorInput());
int maxIndex = 0;
for(int line=startLine;line<=endLine;line++){
int length = document.getLineLength(line);
int offset = document.getLineOffset(line);
String value = document.get(offset, length);
int equalsIndex = value.indexOf("=");
if(equalsIndex<0){
continue;
}
if(equalsIndex>maxIndex){
maxIndex = equalsIndex;
}
}
for(int line=startLine;line<=endLine;line++){
int length = document.getLineLength(line);
int offset = document.getLineOffset(line);
String value = document.get(offset, length);
int equalsIndex = value.indexOf("=");
if(equalsIndex<0){
continue;
}
if(equalsIndex
3)一部見つからないクラスが出ると思います。
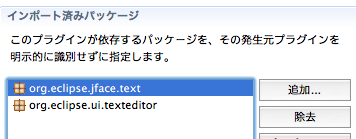
4)plugin.xmlに依存関係を登録します。
依存関係のタブを開きます。

以下のように2つ登録します。
3.実行してみる
1)適当にjavaファイルを作ります。
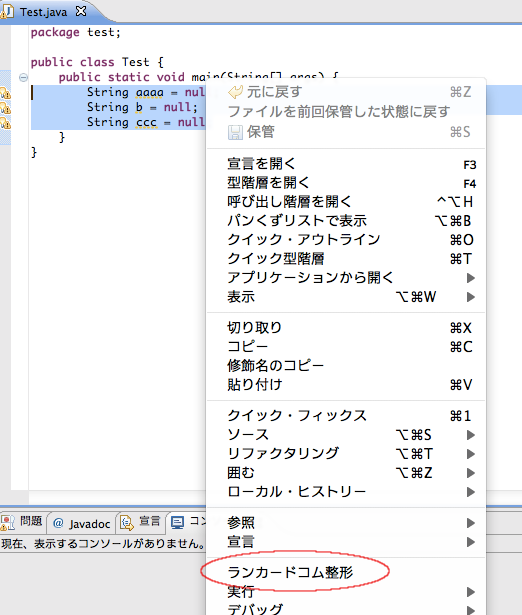
2)エディター上で右クリックします。
3)以下のようにメニューに機能が追加されていれば成功です。
4.使ってみる
1)整形する範囲を選択します。
2)ランカードコム整形を押します。
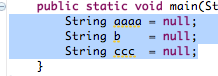
整形されていたら成功です。
5.プラグインファイルの作成
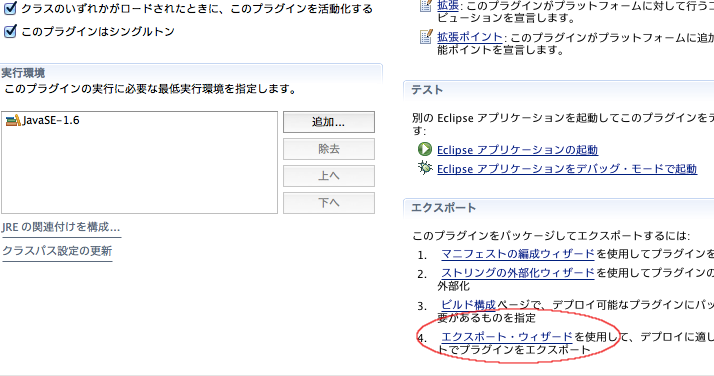
1)エクスポートウィザードを実行します。
plugin.xmlの概要タブの右下のボタンを押します。
2)以下のように入力し、完了を押したら完成です。

3)あとは解凍してpluginフォルダの中にあるjarファイルを自分のEclipseのpluginフォルダに入れたら
あなただけの独自機能の追加されたEclipseを使うことが出来ます。
6.ソースの説明
すごく簡単なソースなので、読めばわかると思うので今回はここまでです。
あとすぐ作りたかったので適当に書いたのですが、もうちょっと奇麗にかけるところがあるかもしれないです・・。


Tags: Eclipseプラグイン開発